


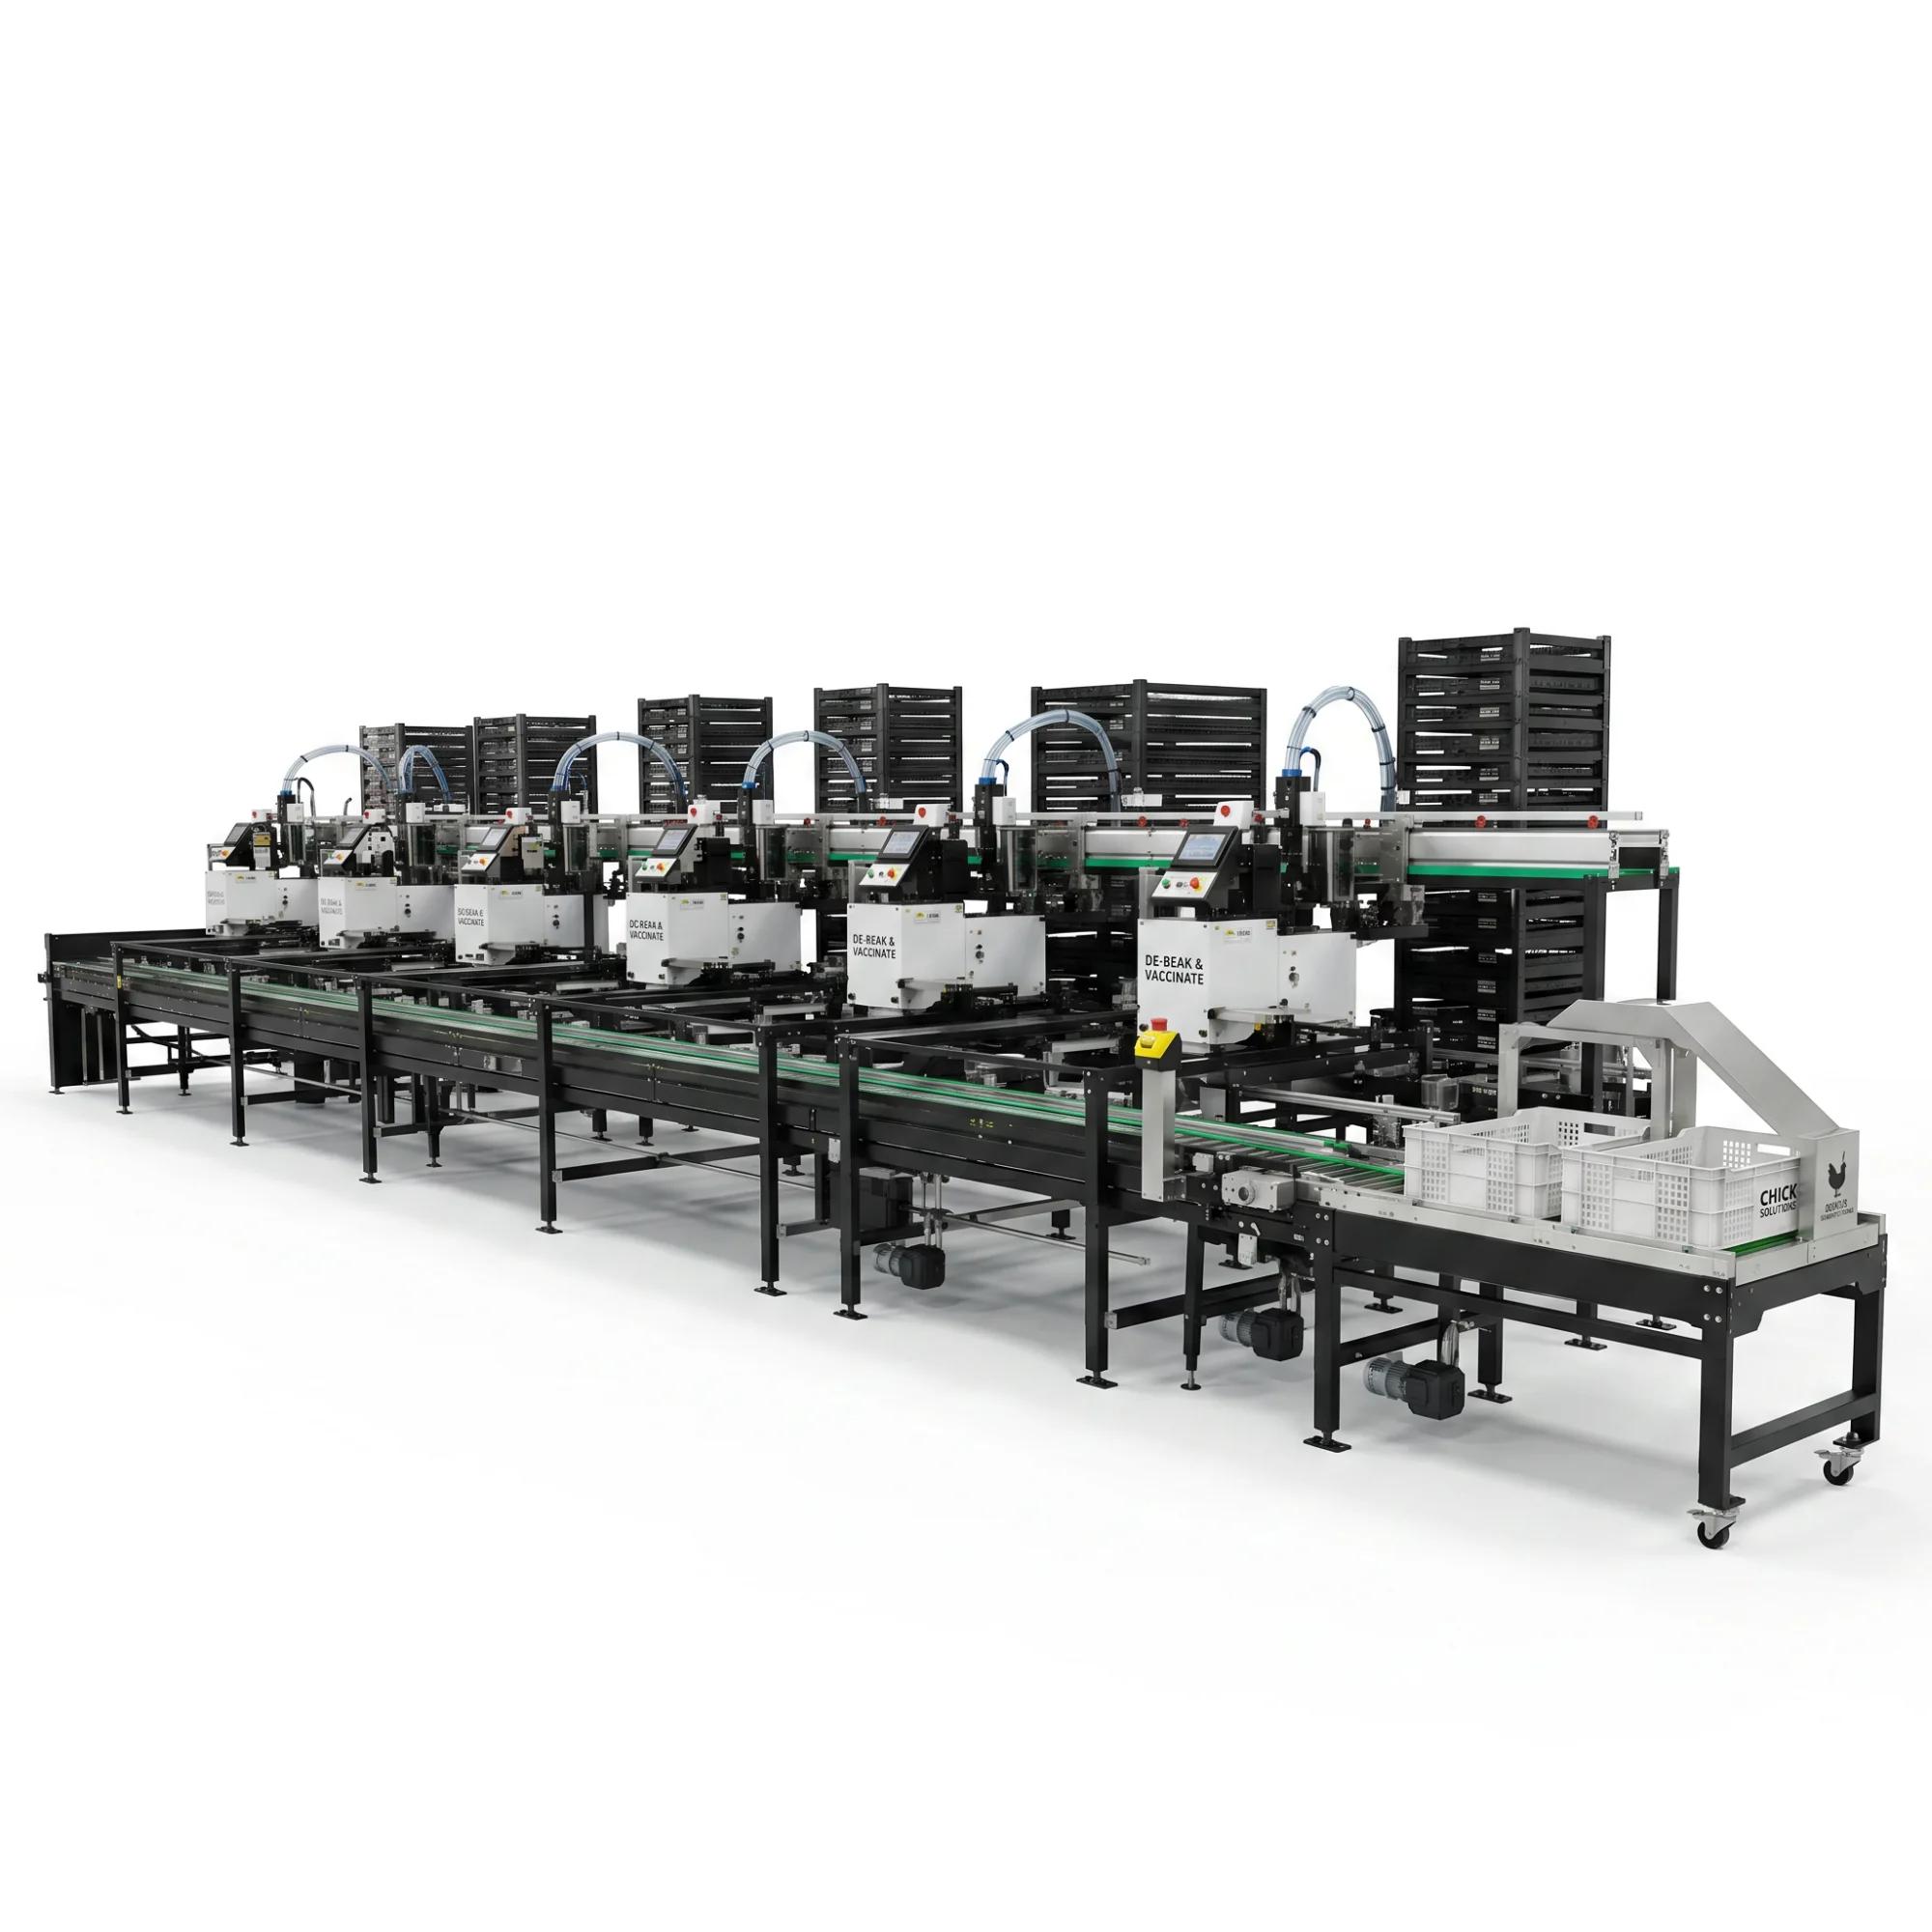
A conveyor can move every crate correctly and still fail the hatchery. Empty crates may arrive too late, a worn crate may stop at a transfer, full crates may queue because the pickup area is blocked, or sanitation may lose time trying to reach the floor beneath the line.
These are ordinary working conditions, not rare exceptions. A chick crate conveying system should be designed around the complete crate journey and the people who manage it, not only the distance between two machines.
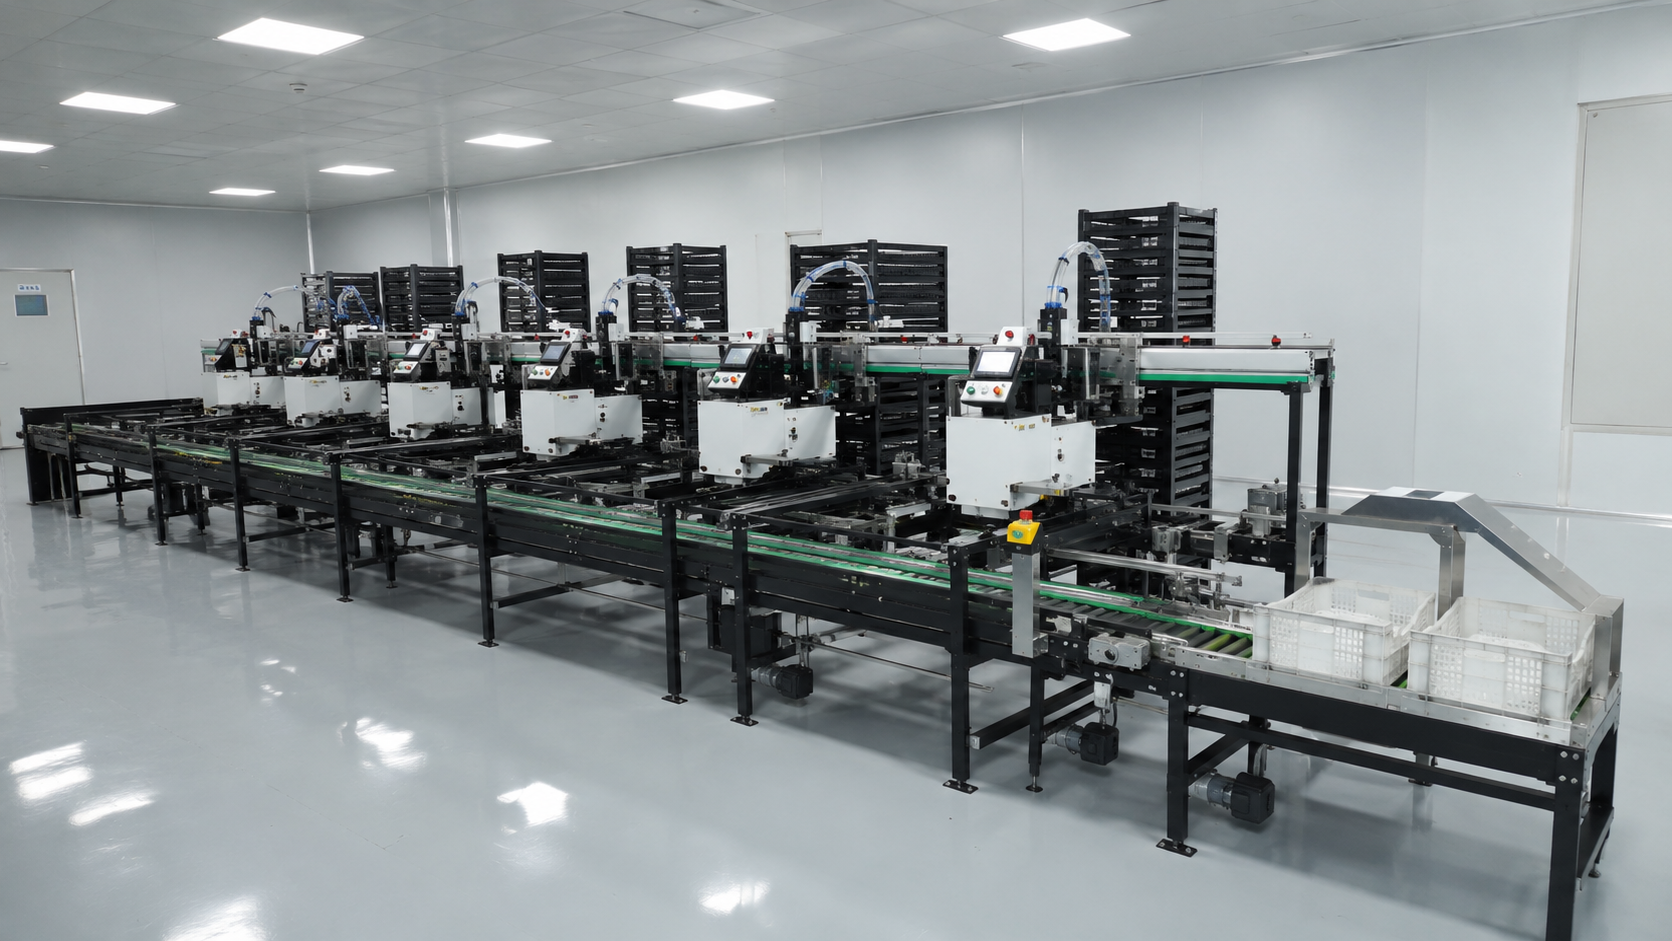
Begin With One Crate's Full Journey
Before drawing the conveyor route, follow one crate. It starts in empty storage, is inspected and oriented, reaches the loading point, becomes a full crate, travels to stacking or dispatch, is removed, unloaded, cleaned, and eventually returns.
Every change of direction, height, owner, or status is a possible delay. The handoff between empty-crate supply and loading may be more important than the speed of the straight conveyor. The discharge after stacking may determine whether the whole line can continue. A cleaning route that was not considered during layout design may control how quickly the hatchery can start the next batch.
Jili Intelligent, the company behind Julisense.com, publishes a conveying and stacking line for automated conveying, crate loading, and stacking in a day-old chick treatment system. A project quotation should still identify which parts of the customer's complete crate loop are included.
Test 1: Empty Crates Arrive Unevenly
For ten minutes, empty crates arrive faster than the loading point needs them. Then the supply stops because the operator is moving the next stack. The average rate is correct, but the rhythm is not.
Without a planned response, spare crates begin to occupy an aisle. When the loading point runs short, another operator leaves the normal position to bring crates manually. Some enter in the wrong orientation, and the line slows for reasons that never appeared in the conveyor specification.
The design needs a defined accumulation area and a clear way to keep crates oriented. A short buffer may bridge a normal supply gap, but it should not become unofficial storage. During acceptance, the hatchery should feed crates according to the measured burst-and-gap pattern, not at perfectly equal intervals. The useful result is an orderly loading point with no improvised operator route.
Test 2: A Worn Crate Reaches a Transfer
The sales demonstration usually uses a clean, straight crate. The hatchery fleet may also contain a deformed rim, a worn base, or a label that begins to lift. Automation has to meet the approved working fleet, not an ideal sample.
When a poor crate stops at a transfer, the real test is not whether the conveyor can force it through. The important questions are whether the affected zone is clear to the operator, whether following crates stop in a controlled way, and whether the obstruction can be removed without improvisation.
The hatchery and supplier should agree on acceptable crate condition and a rejection route. Representative normally worn samples can be used during testing, together with a controlled misalignment that demonstrates the alarm, access, reset, and restart sequence. The hatchery also needs its own inspection and retirement rule; no conveyor can compensate indefinitely for a damaged crate fleet.
Test 3: The Full-Crate Discharge Is Blocked
The stacker completes a load, but the trolley, pallet position, or pickup route is still occupied. Full crates continue to arrive from the treatment area.
This is where a series of connected drives must behave like one process. If upstream equipment continues until every space is full, operators may be tempted to move crates through an unsuitable route. If everything stops immediately without a clear sequence, a small discharge delay can interrupt a much larger area than necessary.
The layout should show how a downstream-not-ready condition is detected, where full crates may wait, which stage pauses first, and who owns the alarm. Recovery matters just as much. Once the discharge is available, the system should restart in an order that clears the queue rather than sending another surge toward the stacker.
During acceptance, block the discharge using an agreed safe method and watch the entire cause-and-effect sequence. The related Julisense article on chick conveying and stacking systems provides more purchasing context for this part of the line.
Test 4: Sanitation Needs the Room Back on Time
Production has ended, but several crates remain in the system. Guides and covers need attention, debris has collected near transfers, and maintenance also wants access before the next batch.
A layout that looks compact during production can become difficult during cleaning. Lower frames may block the floor, removed parts may have no defined clean location, and sanitation staff may need the same access as maintenance. If clearing, disassembly, reassembly, and release were excluded from the downtime estimate, the next startup can be delayed even though the conveyor performed well during production.
The supplier should demonstrate how the delivered equipment is cleared and accessed. The hatchery remains responsible for its sanitation program and should confirm that the equipment materials and protected components suit the approved cleaning method. The site test should measure the complete sequence from final production clearance to approved restart, not only the active cleaning time.
What the Four Tests Reveal
| Real workday event | What the layout must make clear | Evidence to request |
|---|---|---|
| Uneven empty-crate supply | Orientation, accumulation limit, and low-supply response | Burst-and-gap running test |
| Worn or misaligned crate | Detection, safe access, rejection, and restart | Controlled recovery demonstration |
| Blocked full-crate discharge | Stop order, waiting space, alarm owner, and recovery | Cause-and-effect test across connected zones |
| Cleaning and maintenance | Clearance, access, removed-part location, and release | Timed site sanitation and restart review |
This is more useful than a long list of conveyor features because it connects each design choice to a problem the customer may actually face.
Review the Layout From Three Points of View
The production drawing should show empty- and full-crate direction, loading, buffering, stacking, discharge, and operator positions. A second control view should identify zones, sensors, access points, rejection routes, and the expected response when one area is not ready. A cleaning and maintenance view should show lower access, removable parts, drive and panel clearance, nearby floor access, and the space needed to remove components.
Place these views side by side during the layout meeting. A route that is efficient for production may block safe recovery or make sanitation slower. The Jili Intelligent chick conveying system layout guide offers additional questions for this review.
Send Real Crate Information, Not Just Length and Width
The supplier needs the crate model, dimensions, base and rim geometry, empty and full operating weight, orientation, stack pattern, labels or accessories, and examples of new and normally worn condition. If several crate types are used, identify which ones must run automatically and how changeover will be managed.
Physical samples are valuable because small differences at a base, rim, or handhold can affect guides, transfers, sensors, and stacking. If the hatchery plans to change its crate fleet later, discuss the future model before the layout is frozen.
Where Jili Intelligent Fits the Crate Loop
Jili Intelligent's published conveying and stacking product matches the part of the hatchery where chicks move into crates and full crates continue through automated handling. Its complete hatchery automation solutions also place conveying and stacking alongside treatment, vaccination, transfer, counting, and automation management.
In a chick crate conveying system project, this broader range is useful when crate behavior affects upstream stations. The proposal should nevertheless define the exact boundary. Depending on the project, the offer may include loading, conveying, buffering, stacking, controls, and integration, but not every stage of the complete crate journey.
Frequently Asked Questions
Can one conveyor handle several crate types?
Possibly, when dimensions, geometry, weight, orientation, adjustments, controls, and stack patterns have been reviewed. Each approved type should be represented during testing.
Does a larger buffer solve uneven arrivals?
Only when the variation is temporary and the downstream process can recover. A larger buffer consumes space and may hide a continuing supply or discharge problem.
What belongs in the first project inquiry?
Send crate drawings and samples, arrival pattern, loading and discharge method, room layout, connected equipment, stack rules, utilities, cleaning constraints, destination, and the project stages that should be included.
Approve the Conveyor for the Real Workday
A chick crate conveying system should do more than move crates smoothly between two points. It must handle normal supply variation, respond clearly to an unsuitable crate, protect the line when discharge is blocked, and return the room to sanitation and maintenance on time.
Send Jili Intelligent your crate information, measured arrival pattern, stack rules, layout, connected-equipment details, cleaning constraints, and required test scenarios through the contact page. Ask for a clear scope covering loading, conveying, buffering, stacking, controls, installation, and exclusions.
Reference Point
- OSHA Machine Guarding provides general workplace machine-safety information. The final system must follow the risk assessment and requirements applicable at the installation site.