


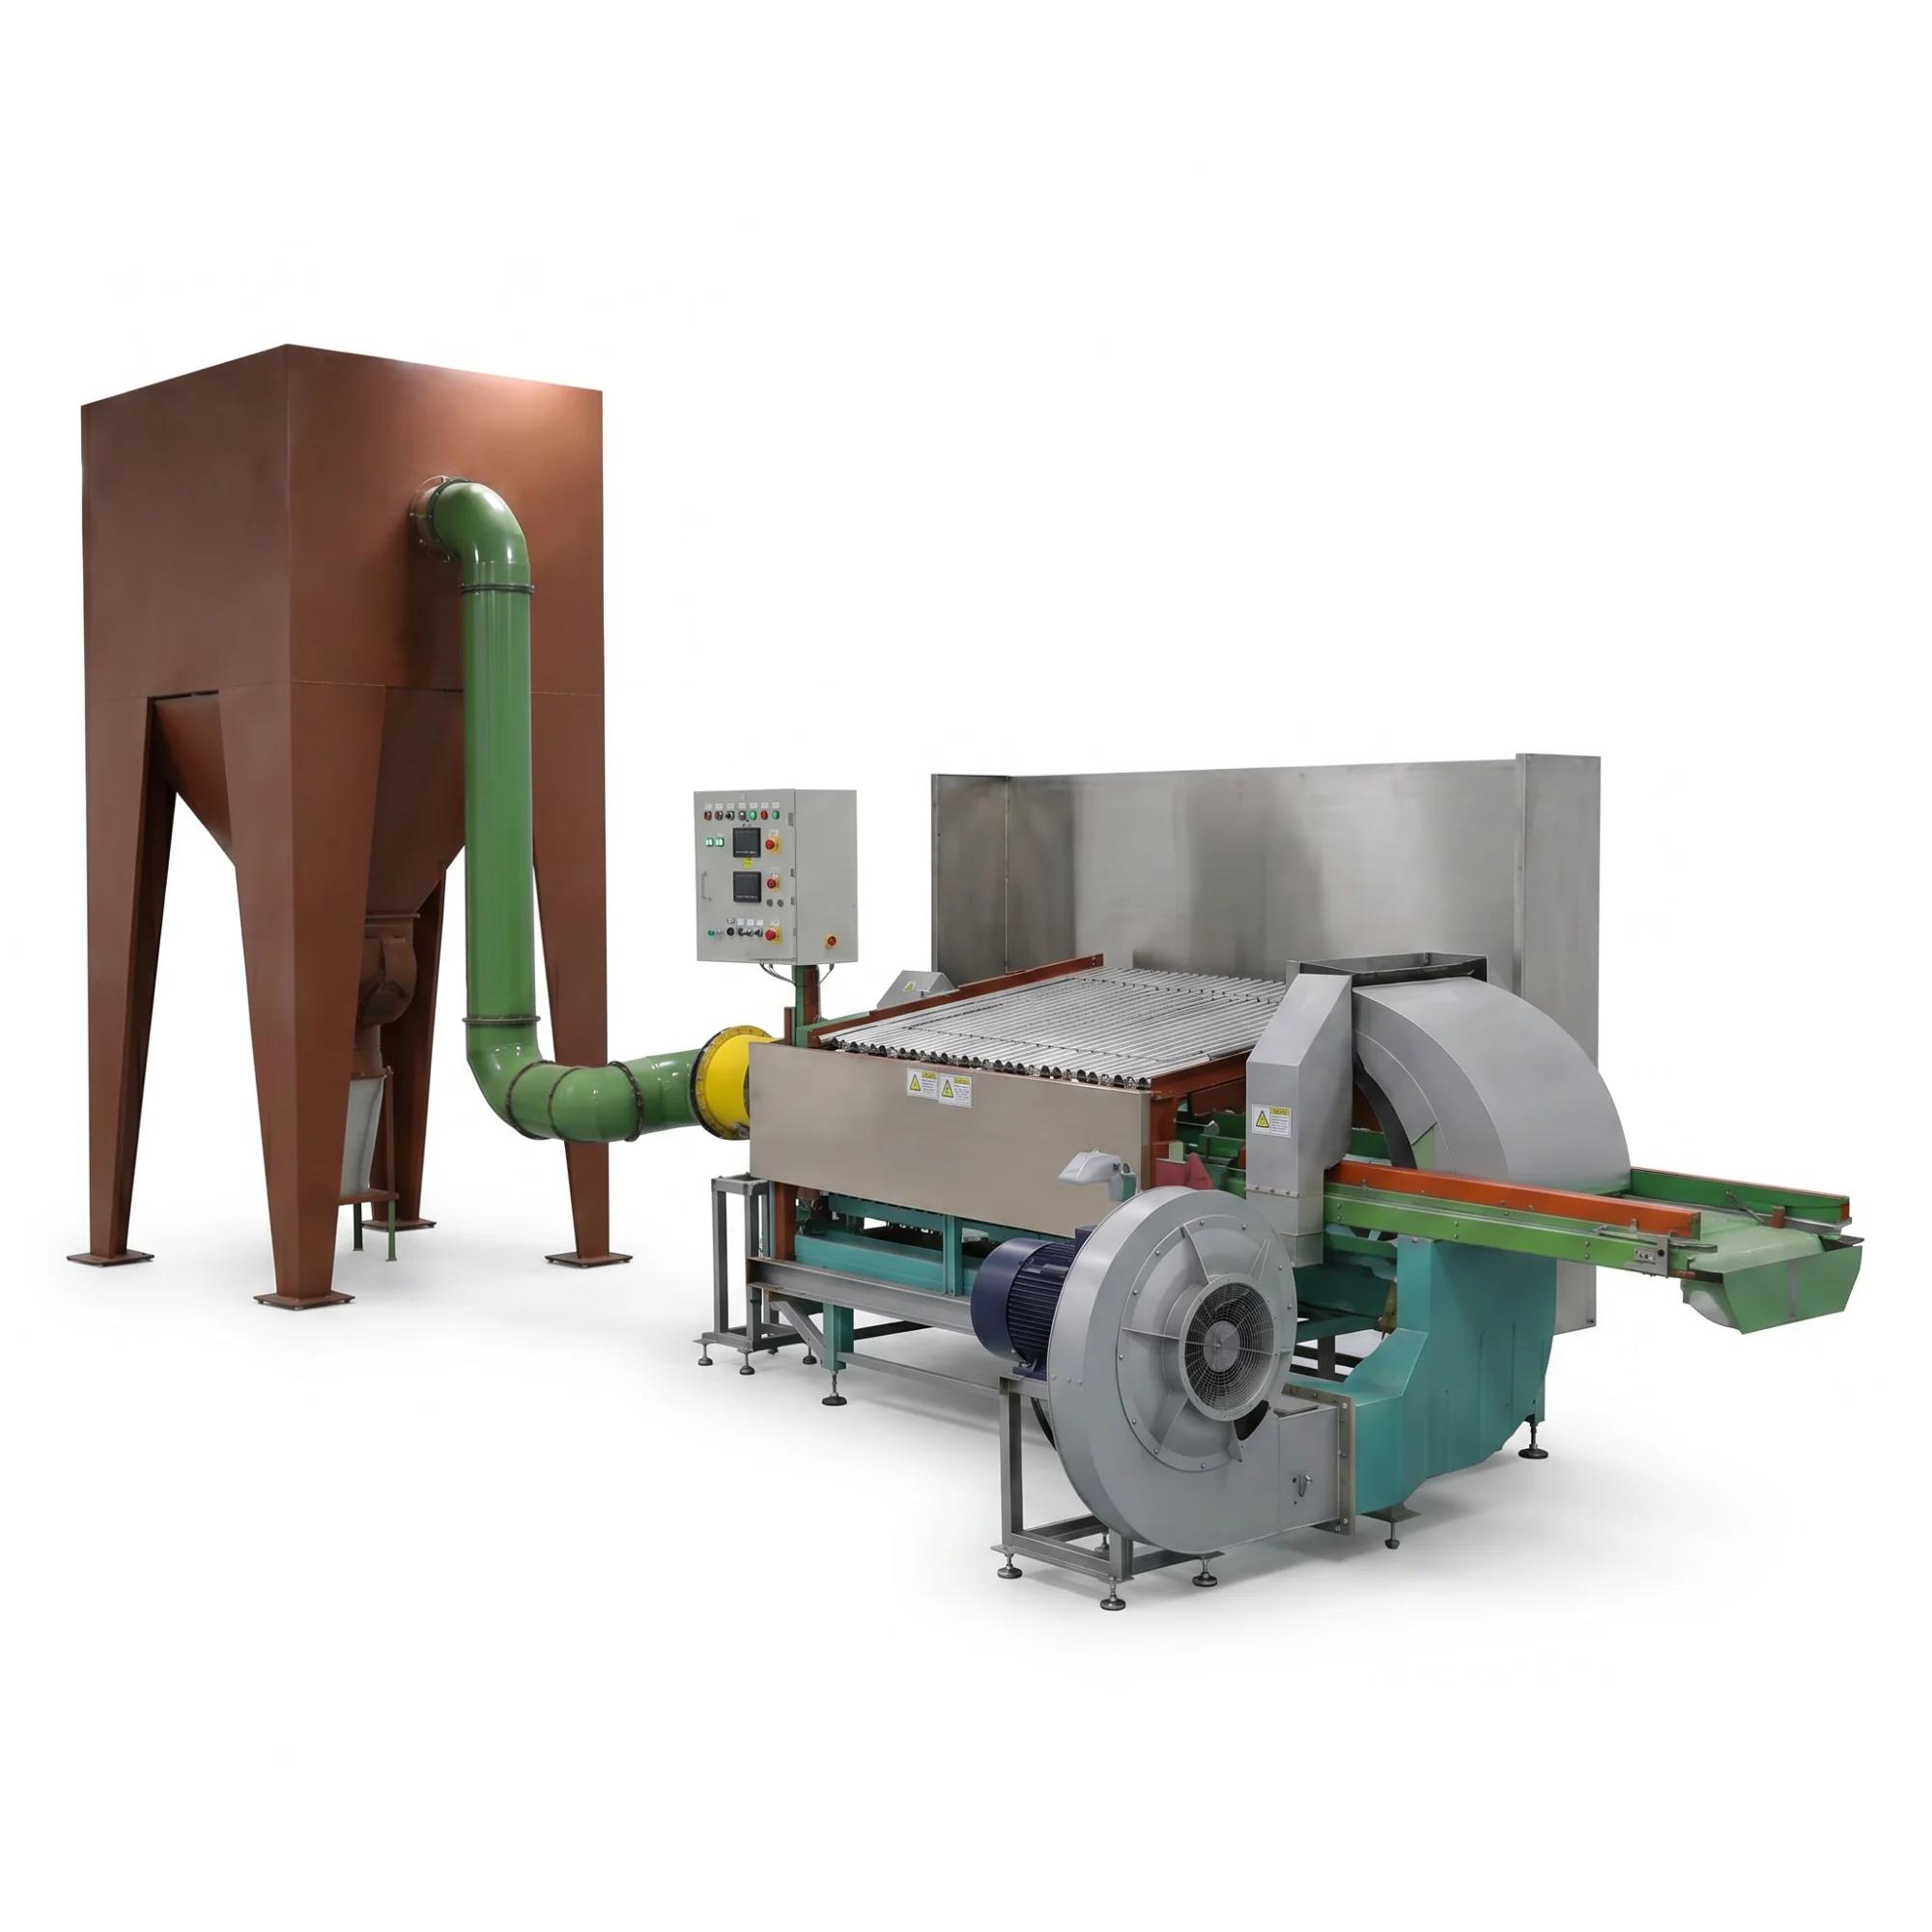
Hatchery automation system installation is often treated as the final step after the purchase order. In practice, the result is shaped much earlier by room information, utilities, line interfaces, access routes, customer procedures, and the evidence required for acceptance.
JuliSense and Jili Intelligent support hatchery projects across chick processing, infrared beak treatment, vaccination, conveying, washing, stacking, and integrated automation. This guide follows six installation gates so project teams can see what must be ready, what belongs to the supplier, and what the customer must decide before the first machine is positioned.
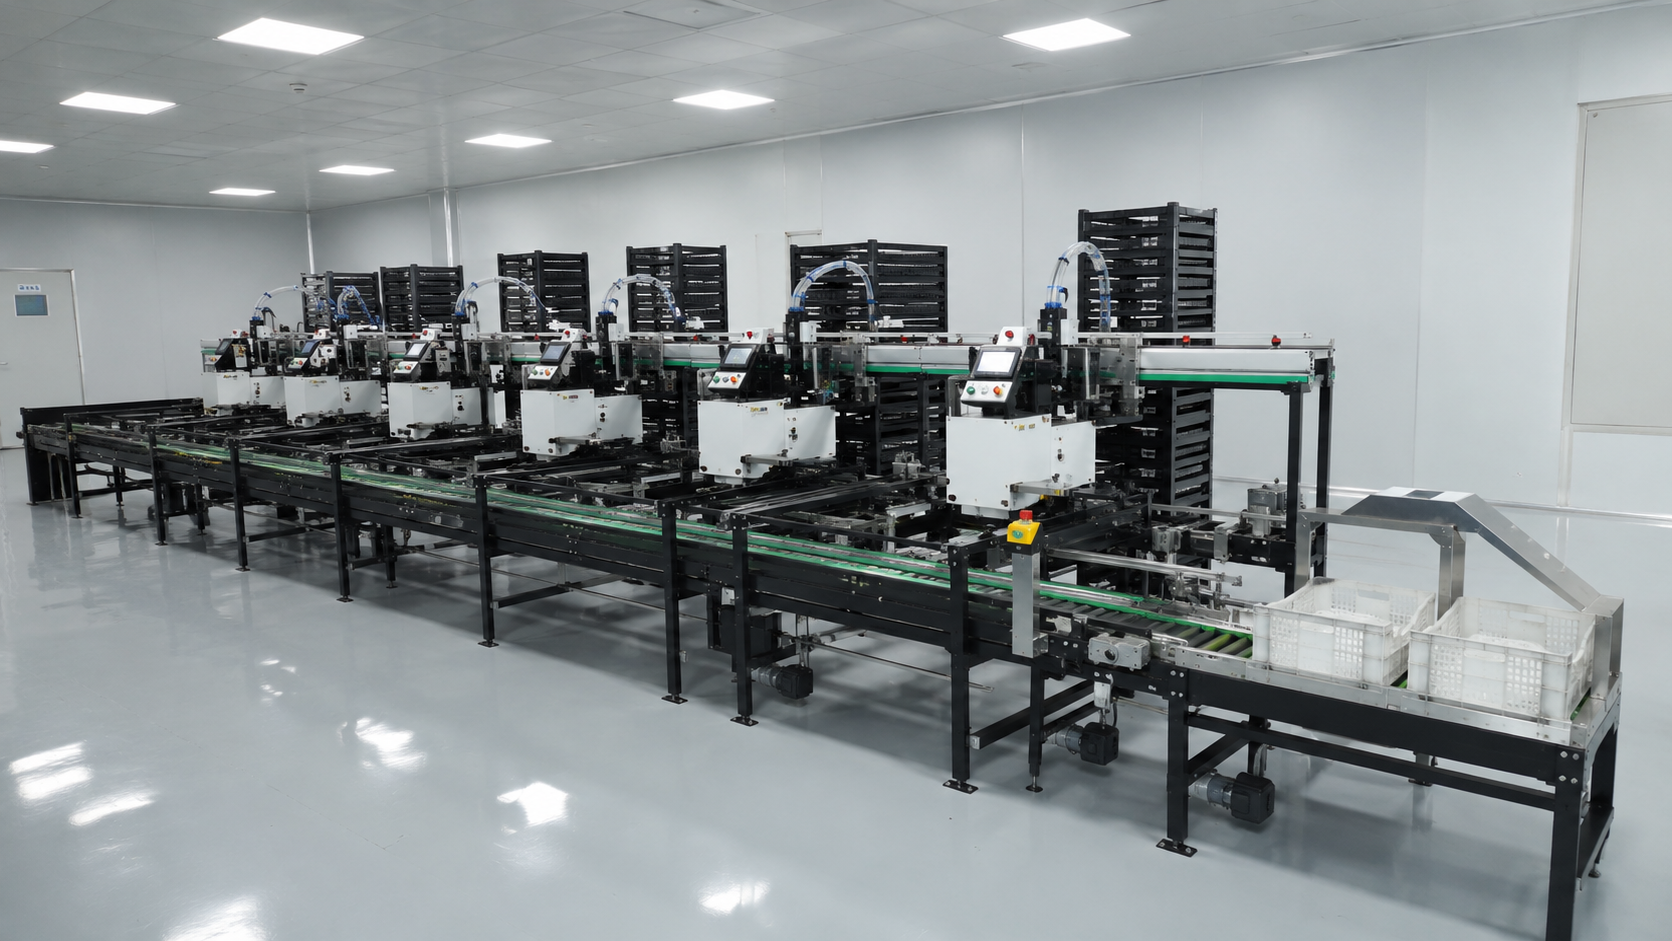
Gate One: Freeze the Site Information
Start with a current floor plan, room heights, columns, doors, drainage, electrical supply, compressed air where applicable, lighting, access routes, and surrounding equipment. Include the expected poultry type, operating schedule, staffing, cleaning route, and future expansion zone.
The JuliSense product portfolio includes equipment that may connect several processing stages. Installation planning must therefore cover the full route rather than one machine footprint.
Record what is known and what is assumed
Create a site register with three labels: confirmed, customer to provide, and supplier to verify. This simple separation prevents an old drawing or an informal message from becoming an installation fact.
It also gives the hatchery automation system installation team a clear list of decisions to close before equipment is shipped.
Walk the route of people and parts
Mark how machines, crates, tools, packaging, operators, maintenance staff, and waste move through the building. A door that fits a crate may still be unsuitable for a wrapped control cabinet or lifting operation.
Gate Two: Confirm Utilities and Interfaces
Technical confirmation should list voltage, frequency, control language, network expectations, air or water services where applicable, drainage, safety connections, and the handoff signals between machines. Ask who supplies cables, isolators, network points, guarding, and local connection work.
For hatchery automation system installation, the interface list is as important as the equipment list. It should identify upstream and downstream owners, signal names, physical dimensions, container formats, and the acceptance evidence for each connection.
Use one interface register
Keep mechanical, electrical, control, data, and operating interfaces in one controlled table. Assign an owner, due date, drawing reference, test method, and closure evidence to every open item.
Check changeover and cleaning conditions
If the same route handles different poultry types, batches, containers, or programs, include those transitions in the interface discussion. Cleaning access and release must be possible without moving an entire line into an unplanned state.
Gate Three: Prepare Delivery and Positioning
Before shipment, confirm packaging labels, crate dimensions, lifting points, unloading equipment, temporary storage, floor protection, and the sequence in which sections will enter the room. Export documents and local customs arrangements should be aligned with the project schedule.
Keep the installation sequence realistic
Some parts may need to be positioned before conveyors, guarding, cable trays, or neighboring equipment close the access route. Ask the project team to review the sequence against the actual room, not only a factory assembly view.
Protect the evidence during unpacking
Photograph identification plates, crate labels, cable tags, and visible condition at arrival where permitted. The record helps resolve a missing-part question without relying on memory.
Gate Four: Complete Mechanical, Electrical, and Control Checks
The first installation day should not be confused with production readiness. Mechanical alignment, fasteners, guards, sensors, cable routing, control screens, emergency functions, and local connections need their own checks before a process run.
For machinery risk assessment and risk reduction, ISO 12100 provides a general framework. Apply relevant requirements to the final configuration, interfaces, and destination.
Review the safe state
Ask what happens when power, air, a signal, a downstream zone, or a guarded access point changes state. The final safety and operating decisions must follow the customer's approved risk assessment and local requirements.
Keep the names consistent
Use the same machine identifiers, zone names, control labels, and drawing references across installation records, screens, training material, and support messages. Consistent language shortens later troubleshooting.
The same naming discipline should continue through the hatchery automation system installation acceptance folder and the customer's maintenance records.
Gate Five: Commission the Route With Customer Operators
Commissioning should move from dry checks to representative conditions. Confirm input identity, operator roles, normal flow, one replenishment, one planned pause, downstream handoff, cleaning access, and the records required for acceptance.
The JuliSense service page describes installation support, commissioning, testing, training, and after-sales service. The project plan should state which activities are included, which require customer participation, and which are outside the agreed scope.
Use teach-back instead of attendance alone
An operator who attended training should explain normal operation, permitted actions, boundaries, the pause route, cleaning release, and support contact. Attendance proves presence; teach-back provides evidence of understanding.
Separate factory evidence from site evidence
Keep the factory test record, site installation record, commissioning notes, customer procedures, open-item list, and acceptance approval distinct. A successful factory run does not automatically prove every site condition.
Gate Six: Close Handover Before Production Takes Over
Handover is complete when the next shift can locate the current configuration, understand normal work, identify a controlled pause, clean and inspect the route, find the support path, and see which items remain open.
| Handover area | Evidence to leave | Owner |
|---|---|---|
| Configuration | Approved equipment and interface list | Project manager |
| Installation | Mechanical and electrical check record | Engineering |
| Operation | Teach-back and training record | Production |
| Cleaning | Access map and release check | Sanitation and maintenance |
| Recovery | Pause, escalation, and restart record | Supervisor |
| Support | Contact path and open-item register | Customer project owner |
Test the handover with a new reader
Give the folder to a qualified person who was not in the installation meeting. Ask them to locate one drawing, explain one normal task, identify one boundary, and find the escalation route. Confusion shows where the handover needs clearer language.
Leave a useful first support message
The JuliSense contact page can be used to share project information. A useful request includes machine identification, configuration, site, operating state, event description, recent change, visible message, photographs where permitted, and actions already taken.
Installation Planning Table for Buyers
| Question | Why it matters | Evidence to request |
|---|---|---|
| Is the room information current? | Prevents layout surprises | Approved site drawing |
| Are utilities confirmed? | Avoids delayed connection work | Utility and responsibility list |
| Are line interfaces named? | Makes integration testable | Interface register |
| Is delivery access ready? | Protects schedule and equipment | Delivery and lifting plan |
| Are customer operators available? | Makes training practical | Commissioning roster |
| Are acceptance rules agreed? | Defines closure | Acceptance and open-item plan |
Questions Buyers Ask About Hatchery Automation System Installation
When should installation planning begin?
Begin during technical confirmation, before final manufacturing and shipment. Earlier planning gives the customer time to confirm room, utilities, access, operators, and adjacent equipment.
Does the supplier provide all site work?
The answer depends on the project scope. List supplier work, customer work, local contractors, utilities, lifting, connections, and exclusions in writing.
What should be ready on delivery day?
Confirm room access, unloading equipment, floor condition, utilities, storage, safety controls, customer contacts, and the approved installation sequence.
How long does commissioning take?
It depends on system size, interfaces, site readiness, customer inputs, and acceptance conditions. Ask for a project-specific plan rather than relying on a generic duration.
Should production start immediately after installation?
Production should begin only after agreed checks, training, acceptance evidence, customer approvals, and open-item controls are complete.
What documents should be handed over?
Request the approved configuration, drawings, utility list, operating and cleaning information, training records, test results, spare information, support route, and open-item register.
How are changes controlled during installation?
Record the change, reason, impact, owner, approval, updated drawing or software reference, and verification evidence before treating it as closed.
What if the downstream machine is not ready?
Define a safe temporary state, protect current work, record the dependency, and do not treat an incomplete interface as an accepted production route.
Can JuliSense support remote troubleshooting?
Discuss remote support, information requirements, spare parts, response channels, and escalation during the commercial and service conversation.
How do we request a site-readiness review?
Send the floor plan, capacity, poultry type, workflow, utilities, current equipment, target schedule, and open questions through the JuliSense contact page. The WOAH Terrestrial Code can also help the customer identify animal-health responsibilities before the hatchery automation system installation plan is finalized.
Installation Is a Shared Readiness Project
Successful hatchery automation system installation depends on more than putting equipment in position. It requires current site information, named interfaces, realistic delivery access, controlled testing, customer-led training, and evidence that survives the first ordinary shift. JuliSense can organize the route from design to handover while the customer retains authority over its procedures, approvals, and release decisions.