


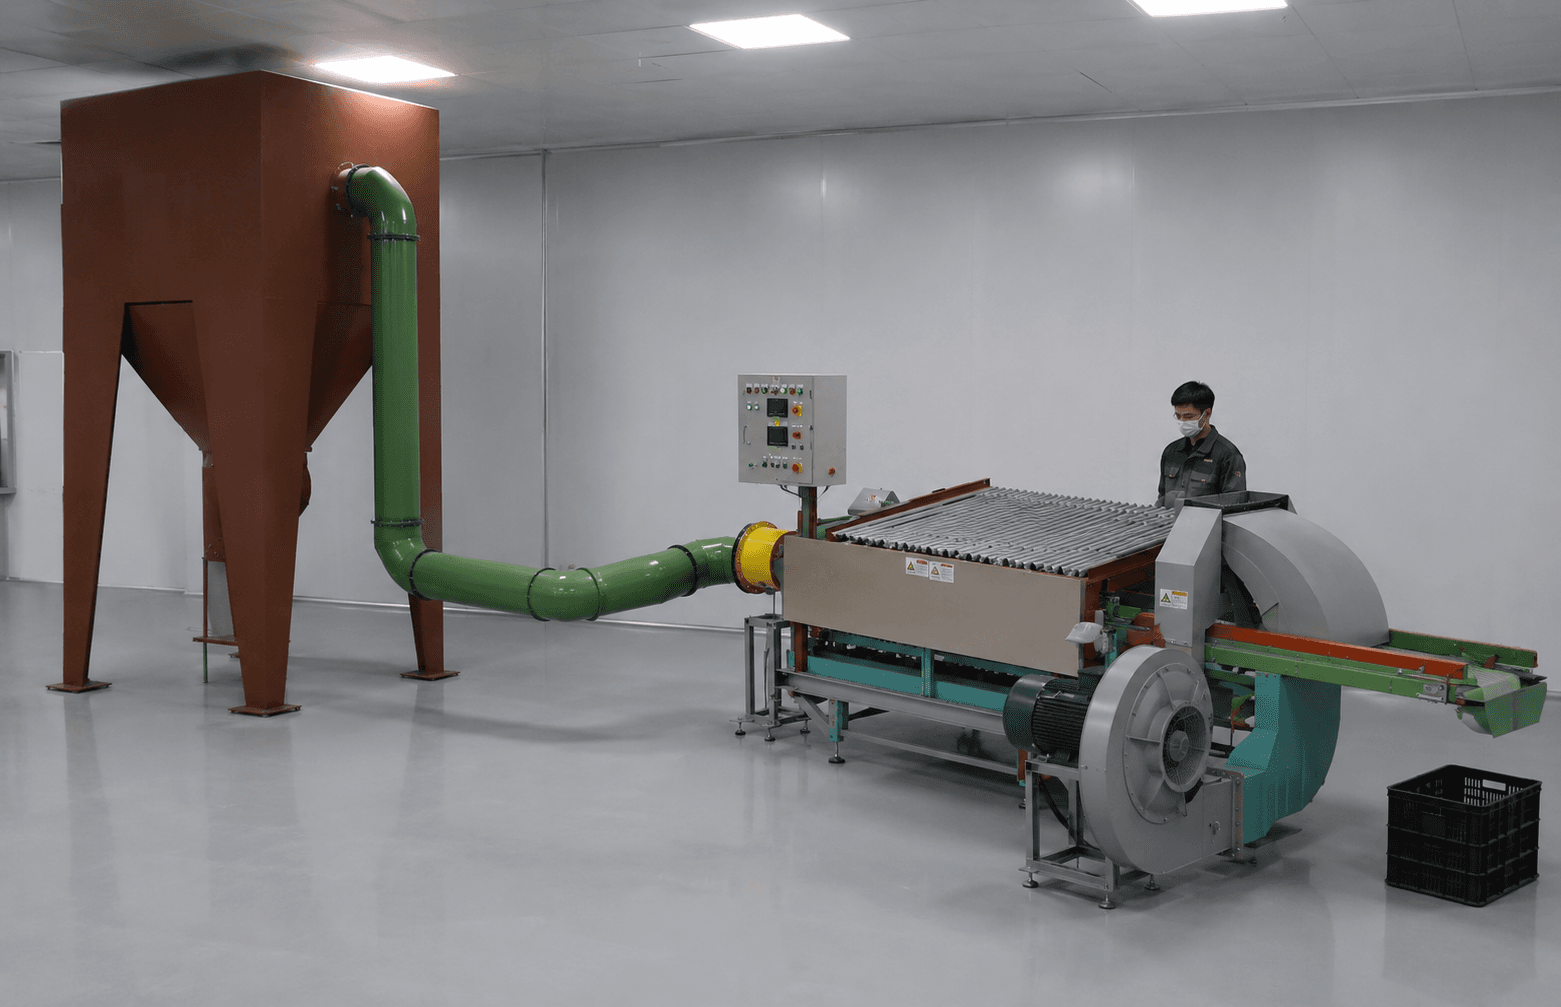
A quotation request for a day old chick transfer machine sometimes arrives with a daily volume, a room length, and one sentence: “Please recommend a model.” That sounds like a good start. It still leaves the most important part of the project out of view. The supplier cannot see how hatcher baskets arrive, where chicks need to go, how shells leave, or what an operator must reach when the flow is interrupted.
Five ordinary phone photos can change that conversation. They do not replace dimensions, process data, or an approved layout. They give the production team and JuliSense a shared picture of the real handoffs before either side begins arranging equipment on a blank drawing.
Photo one begins before the machine
Stand where the next hatcher basket normally waits. Point the camera toward the place where an operator, trolley, or conveyor presents it to the transfer area. Keep the floor, nearby wall, doors, columns, and any overhead obstruction in the frame. A close-up of the basket is useful, but the wider view explains how it reaches the working position.
The picture should be accompanied by the basket's outside dimensions, usable inside dimensions, loaded condition, and normal arrival pattern. Note whether baskets appear one at a time or in waves. A hatchery with the same daily output as another site may have a very different transfer problem because its arrivals are concentrated into shorter windows.
This first view often exposes questions that a catalogue cannot answer. Is the presentation height fixed? Can the basket orientation change? Does the operator need to turn it in a narrow aisle? Where can the next basket wait without entering a cleaning route? If the upstream team releases two baskets close together, who controls the queue?
Do not tidy the area for the photograph. The normal trolley, empty pallet, hand tools, and temporary storage are part of the evidence. A spotless empty corner may look easier to automate than the working corner the hatchery actually uses.
Photo two borrows the operator's eyes
For the second photo, hold the camera at the normal operator position and height. The aim is not a flattering equipment shot. It is to show what the person can see and what is hidden. Include the incoming basket position, the transfer point, the likely control location, and the first downstream handoff if they fit in one frame.
Then describe the work around that view. Who confirms the batch? Which task requires two hands? Where are records, tools, or approved consumables kept? What does the operator do when presentation is uneven? Which condition requires a supervisor, and how does that person approach the station?
A day old chick transfer machine changes jobs around the equipment; it does not make people disappear. Operators may move from repeated lifting or tipping toward monitoring, presentation, exception handling, cleaning, and coordination with the next process. The proposed position should let them see the state they are responsible for without repeatedly stepping across another route.
Include left- and right-handed access needs if they matter at the site. Also show the space behind the working position. A plan can provide enough room for one person while quietly blocking a passing trolley, a maintenance approach, or an emergency route.
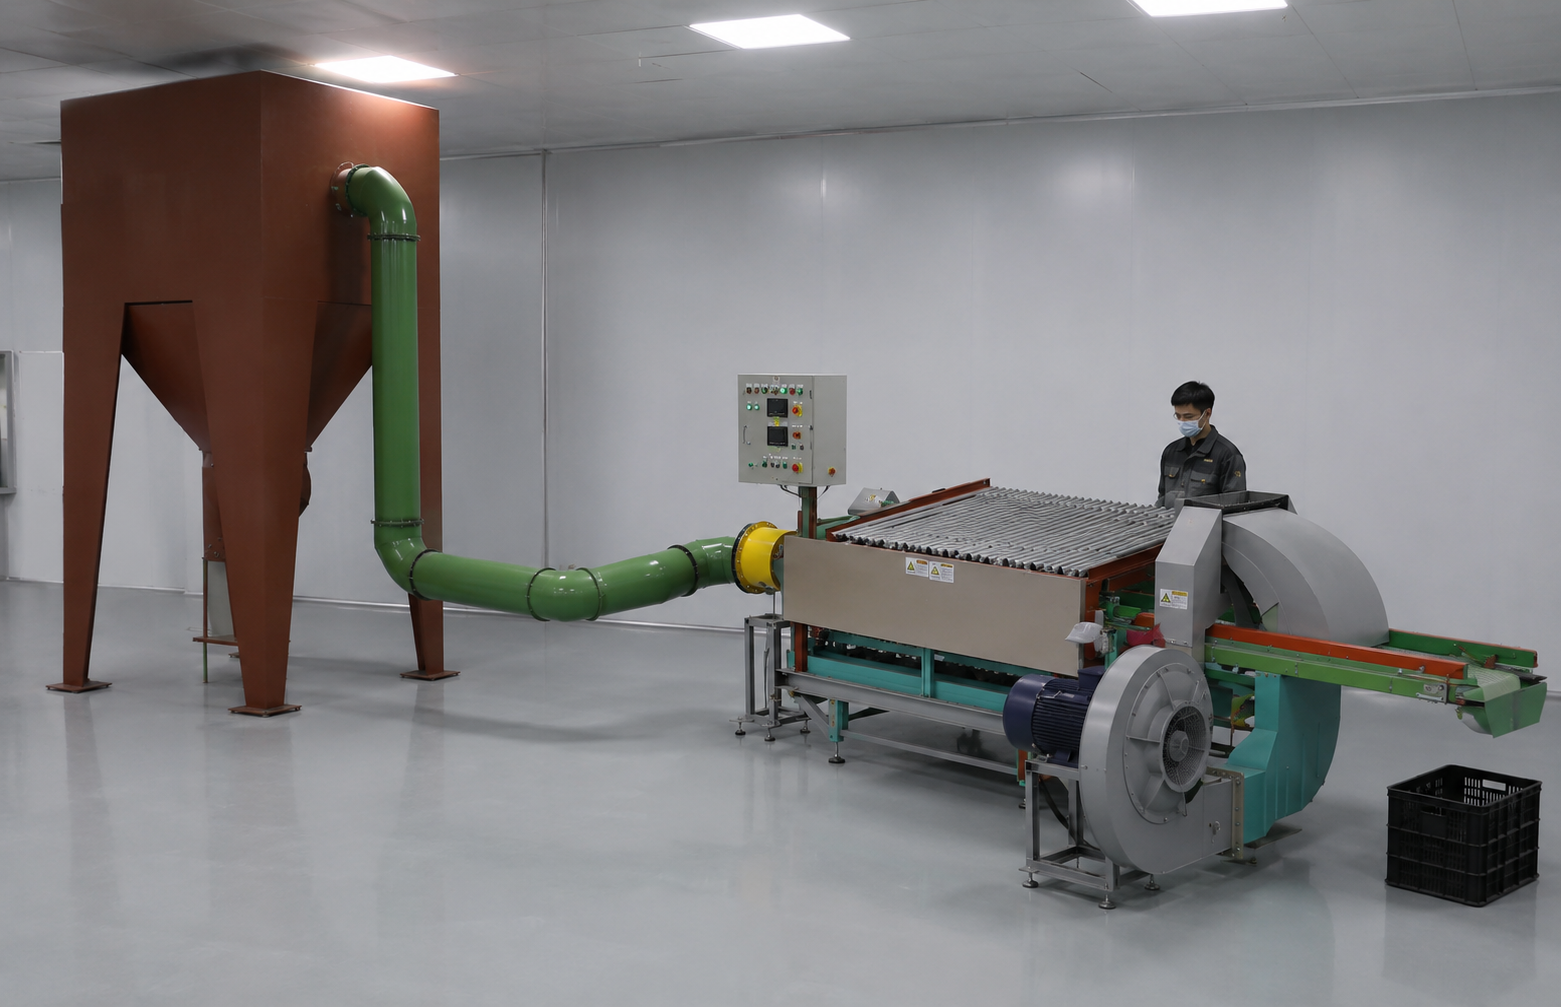
Photo three follows the first controlled handoff
Turn around and photograph the destination. The next job might be inspection, approved sorting, counting, vaccination, infrared beak treatment, boxing, conveying, or a site-specific manual step. What matters is the boundary between the proposed transfer equipment and that job.
Mark the expected discharge point on a copy of the photo. Add the height, direction, available width, container or conveyor details, and the condition that means the next stage is ready. If existing equipment remains, provide its maker, model, drawings, control information, and clear photographs of the interface. A connector that looks simple in a wide room can become difficult when actual guards, panels, frames, and operator access are added.
Ask one practical question: where does material wait when the next stage pauses? “It will never stop” is not a design rule. The project needs an agreed response for a short interruption, an extended stop, and the end of a batch. That response may involve controlled accumulation, an approved manual route, a coordinated stop, or another arrangement defined by the customer's technical team.
JuliSense presents its day-old chick picking and transfer machine as equipment that can work with downstream hatchery automation. The exact infeed, discharge, control exchange, and responsibility boundary still belong in the project proposal.
Photo four looks where shells and empty items go
Most proposal photographs follow the valuable product and crop out everything leaving in the other direction. Take the opposite picture. Show the shell, waste, empty-basket, liner, and cleaning-tool routes that share the transfer area. Include bins, chutes, doors, drains, and temporary holding locations.
The WOAH recommendations for poultry production biosecurity discuss hatchery workflow, physical separation, equipment washing, and waste disposal. The customer's approved biosecurity plan and local requirements determine the final arrangement, but those routes must be visible while the room is being discussed.
Write down who removes each item, how often, and what happens during a peak. A route that works with one bin can fail when the bin is full at the same moment another basket arrives. Check whether removal requires someone to cross the normal chick path or enter an operator's space.
This photo also helps sanitation and maintenance teams join the project early. They can point out surfaces that must remain reachable, items that need removal, water-sensitive components, drainage concerns, and the space needed to release the area after cleaning. Their questions are cheaper to answer on a photograph than after installation.
Photo five steps far enough back to reveal the room
The final photograph should be the least dramatic and often the most useful. Stand in a doorway or safe corner and capture the whole room envelope. Include the floor, ceiling, doors, columns, drains, panels, pipework, cable routes, existing machines, and access from delivery to installation position.
Add a simple sketch with verified measurements. Mark anything that cannot be moved. Show the largest available doorway and the route from unloading to the final position. If production must continue during installation, identify the area and time window that can actually be released.
Machinery layout must also be reviewed through the site's safety process. ISO 12100 describes general principles for machinery risk assessment and risk reduction. It does not approve a particular project by itself. The buyer, supplier, and responsible local specialists still need to define applicable guarding, access, isolation, emergency functions, installation work, and verification.
The wider view lets a proposal show more than a footprint. It can reserve space to open guards, reach service points, remove components, clean around structures, and approach the equipment without borrowing the next operator's aisle.
Put a measurement beside every picture
Photos create context, but lenses distort distance and hide scale. Pair each image with one or two verified measurements and a short note about timing. That small discipline keeps the discussion grounded.
| Photo | What it should reveal | What to send beside it |
|---|---|---|
| Incoming basket | Presentation, orientation, nearby obstacles | Basket dimensions and arrival pattern |
| Operator view | Sight lines, reach, walking and support access | Normal tasks and exception ownership |
| Downstream handoff | Destination, interface and waiting space | Height, direction and ready/stop logic |
| Shell and return route | Waste, empty items, cleaning and crossings | Removal frequency and sanitation boundary |
| Whole room | Fixed constraints, utilities and installation access | Verified plan and immovable features |
If the tape measurement and drawing disagree, do not choose the more convenient number. Flag the difference for a site check. If a photograph cannot be taken for confidentiality or biosecurity reasons, a marked-up drawing can carry the same questions without exposing restricted areas.
What the camera cannot tell about a day old chick transfer machine
Even a good photo brief leaves important project data outside the frame. A useful inquiry should include normal and peak batch sizes, operating windows, poultry type, existing equipment to remain, current staffing, downstream processes, cleaning schedule, available utilities, destination country, installation constraints, and the intended project phase.
Veterinary decisions, handling acceptance criteria, biosecurity rules, sanitation release, and operating limits remain with the customer's qualified owners and applicable authorities. JuliSense can use that approved information to discuss equipment configuration and integration; it should not be guessed from a picture.
Capacity deserves particular care. Do not send only an annual or daily total. Show how work arrives across a real hatch day and how much time is available before the next step or dispatch. The selected day old chick transfer machine must fit that rhythm together with the upstream and downstream limits. A standalone headline rate cannot prove complete-shift performance.
The JuliSense product range covers picking and transfer, infrared beak treatment, vaccination, conveying and stacking, crate washing, and connected hatchery automation. The complete hatchery automation solution is useful when the photographs show that the transfer point cannot be designed in isolation. The service page and company profile explain the broader project and company context.
Read the five photos as one short story
Place the pictures in order and ask someone who works the shift to describe them aloud. A basket arrives here. The operator confirms this. The transfer occurs here. Chicks continue in that direction. Shells and empty items leave by this route. A pause is handled in this space. Cleaning begins after this handover.
If the story jumps over a decision, a person, or a route, mark the gap. The answer may be another measurement, a revised layout, a controls discussion, a customer procedure, or an item added to the supplier's scope. The point is not to make photographs look technical. It is to stop both teams from filling missing information with different assumptions.
This is also a useful internal test before procurement sends the inquiry. Production can check the real rhythm. Engineering can check space and interfaces. Sanitation can check access and separation. Maintenance can check removal and isolation. Procurement can see which requested item solves which visible problem.
Questions buyers ask about the photo brief
Are five photos enough for a final layout?
No. They are enough to begin a more useful discussion. A final arrangement needs verified dimensions, process data, utility information, technical decisions, applicable requirements, and review by the responsible parties.
Should we send videos as well?
A short video can show arrival waves, operator movement, basket handling, and what happens during a pause. Keep it focused and identify the batch condition being shown. Send still photographs too, because they are easier to mark up during layout discussions.
What if the hatchery is still being designed?
Use layout drawings, equipment schedules, process diagrams, and reference container information instead of site photographs. Mark confirmed facts, current design decisions, supplier assumptions, and open items separately so a preliminary concept is not mistaken for an approved layout.
Can JuliSense connect the transfer machine to existing equipment?
Potential integration is reviewed project by project. Share the existing machine details, interface dimensions, control information, operating sequence, access, and ownership boundaries. JuliSense can then identify what needs confirmation or a different arrangement.
What should accompany a day old chick transfer machine quotation request?
Send the five-photo brief, verified room plan, basket details, workload pattern, current process, downstream destination, waste route, utilities, cleaning boundary, destination country, and project schedule. The JuliSense FAQ page can help buyers prepare general project questions.
Send the room before asking the room to fit a machine
A useful day old chick transfer machine proposal begins with the real place where work changes hands. Five honest photographs make that place visible. They help the supplier understand the incoming basket, the operator's view, the downstream handoff, the return route, and the room around them.
Send the photo brief and project data through the JuliSense contact page. JuliSense can review the transfer requirement within the wider hatchery route and prepare the next questions before a configuration or layout is proposed.